
Most beginners in iOS development have a problem understanding delegates. Apple says that a delegate is an object that acts on behalf of, or in coordination with, another object when that object encounters an event in a program. To simplify, a delegate is an object that allows object A and object B to communicate with each other using functions or variables. Delegates are triggered by an event in the program(eg. Pressing a button).
Let me explain this to you on a simple example of transferring data from a custom view to a view controller.
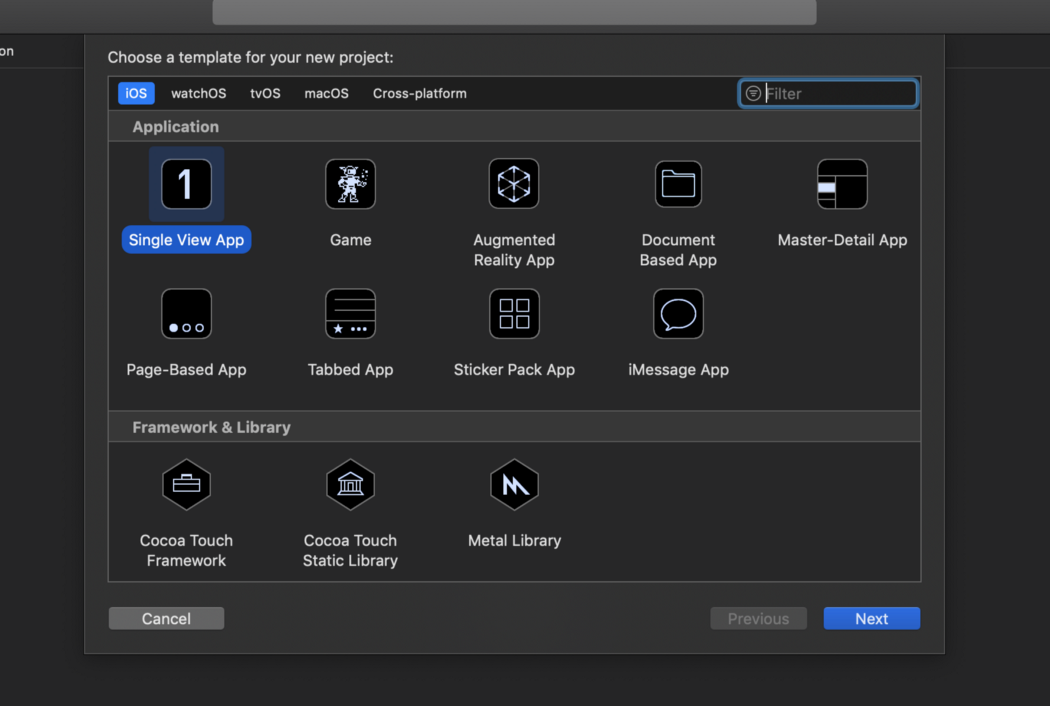
Lets begin with creating a new Xcode project; so open Xcode, select Create a new Xcode project

select Single View App and press Next.
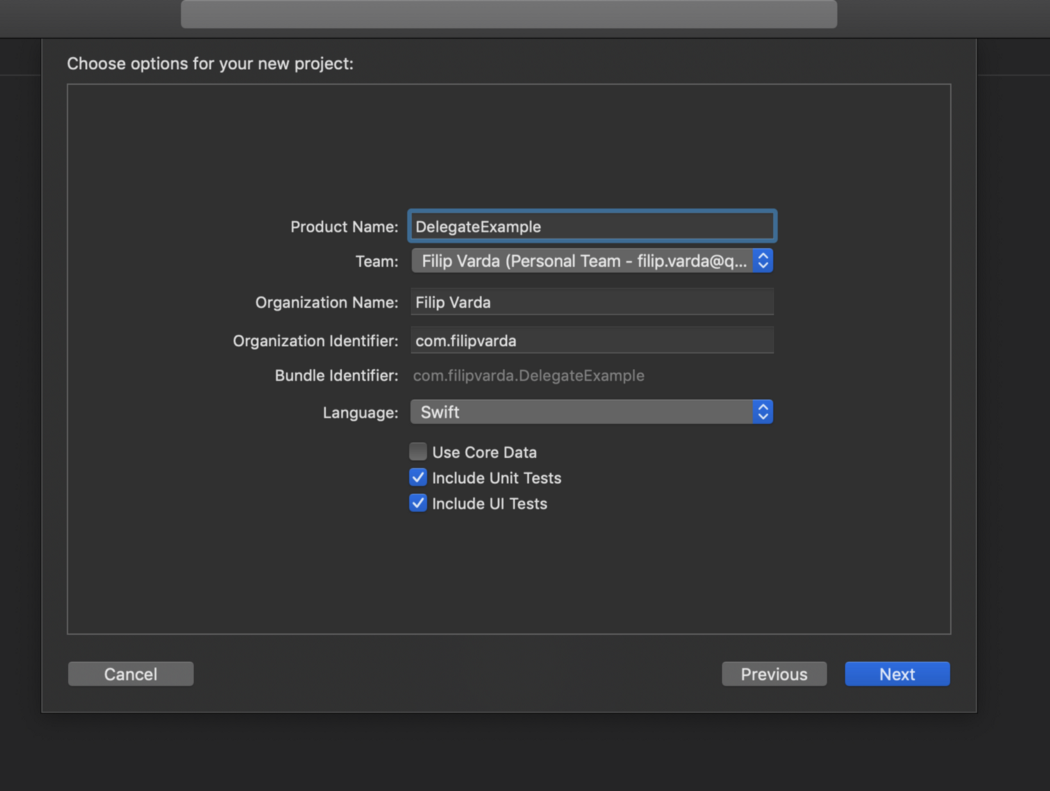
In the product name field enter DelegateExample, then press Next -> Create.
Okay, now we have a project set up and we are ready to begin.
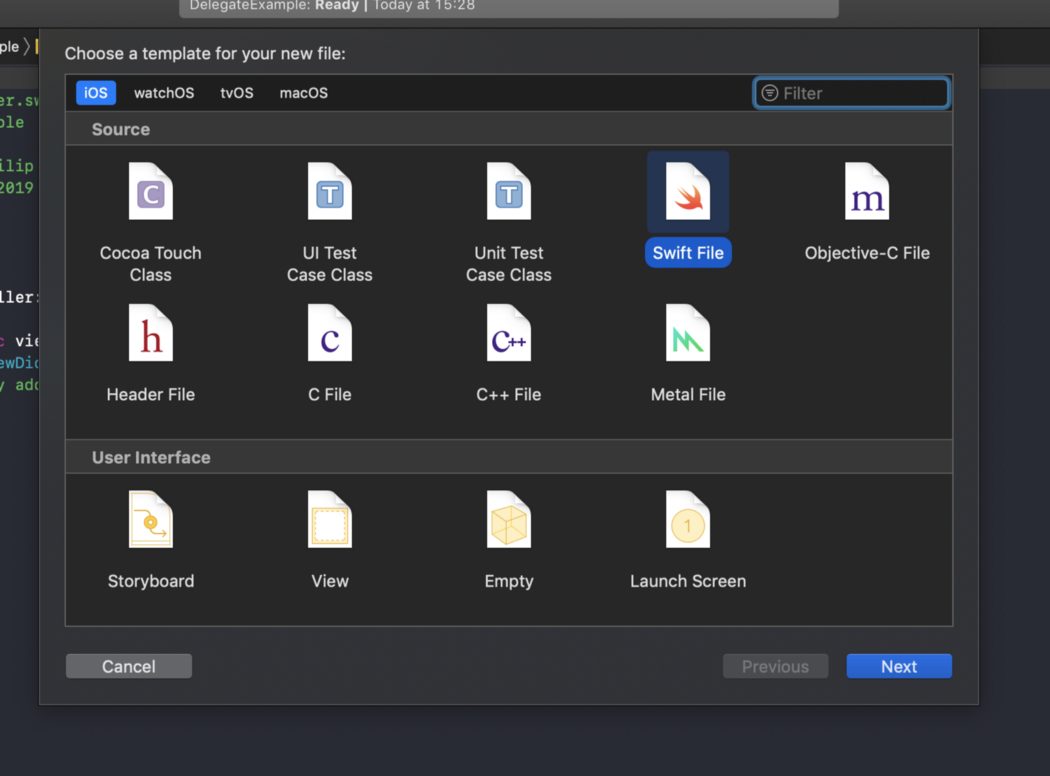
Now we need to create a custom view that will represent object B. Our object A will be View Controller and it’s already created by Xcode. So, to create a custom view navigate to your project tree on the left side of Xcode window, right-click the Delegate Example folder, then click on New File…

Select Swift file and click Next.
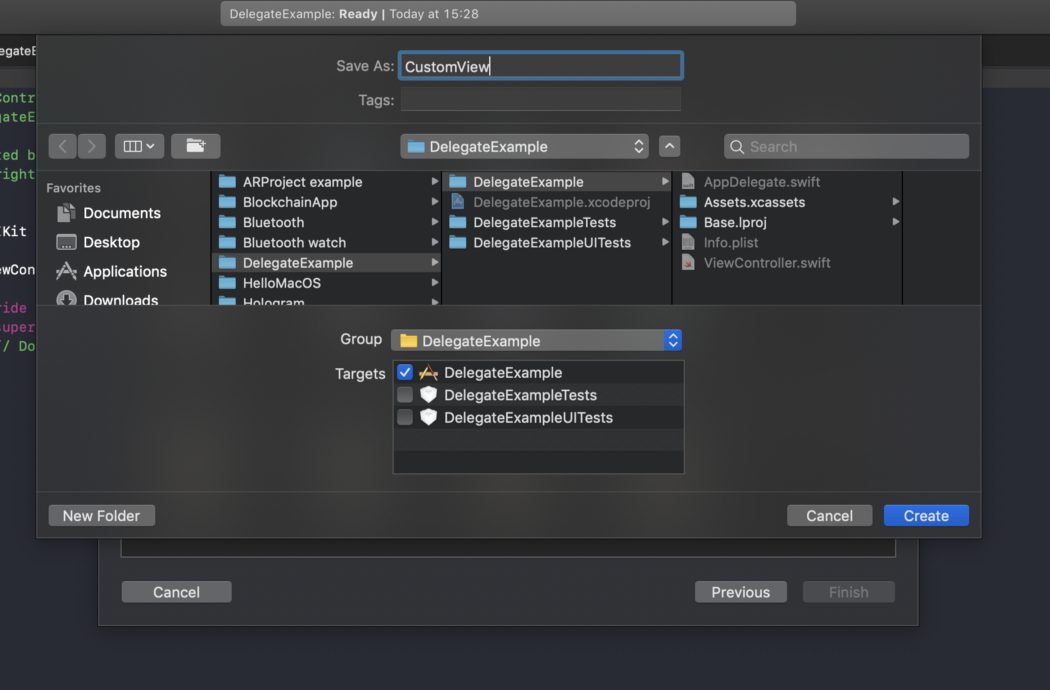
In the Save As field enter CustomView then press Create
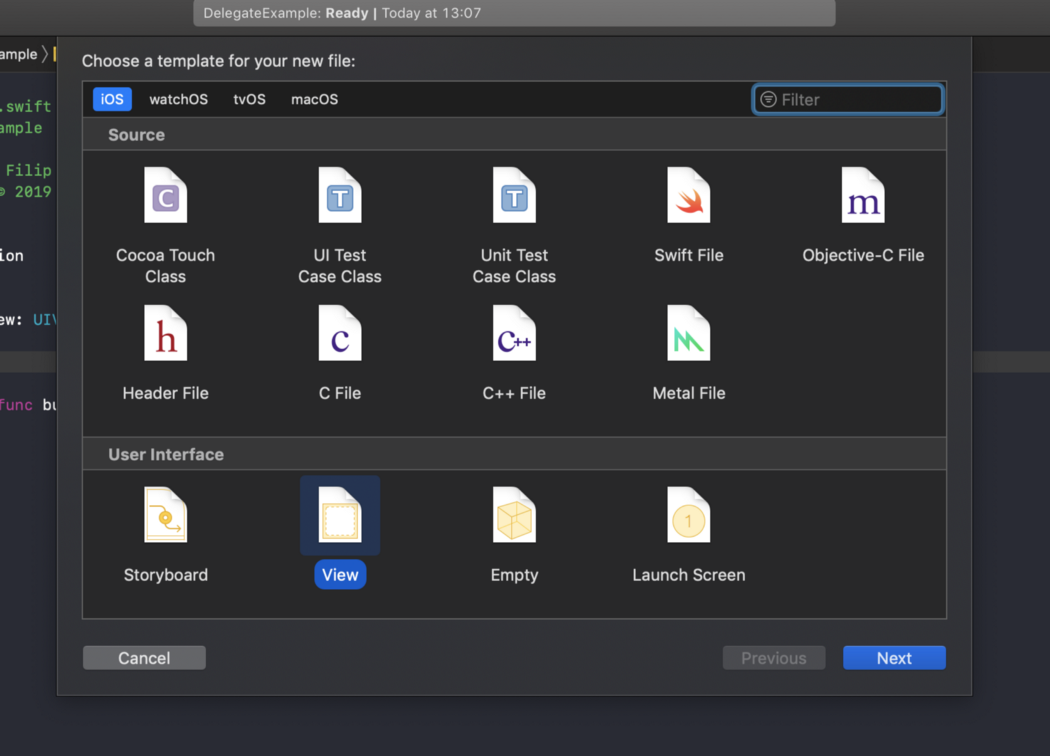
Now, we will create a .xib file for our CustomView. To do that, right-click your Delegate Example folder again, and select New File…, but this time select View and press Next. Name the file CustomView again and click Create.
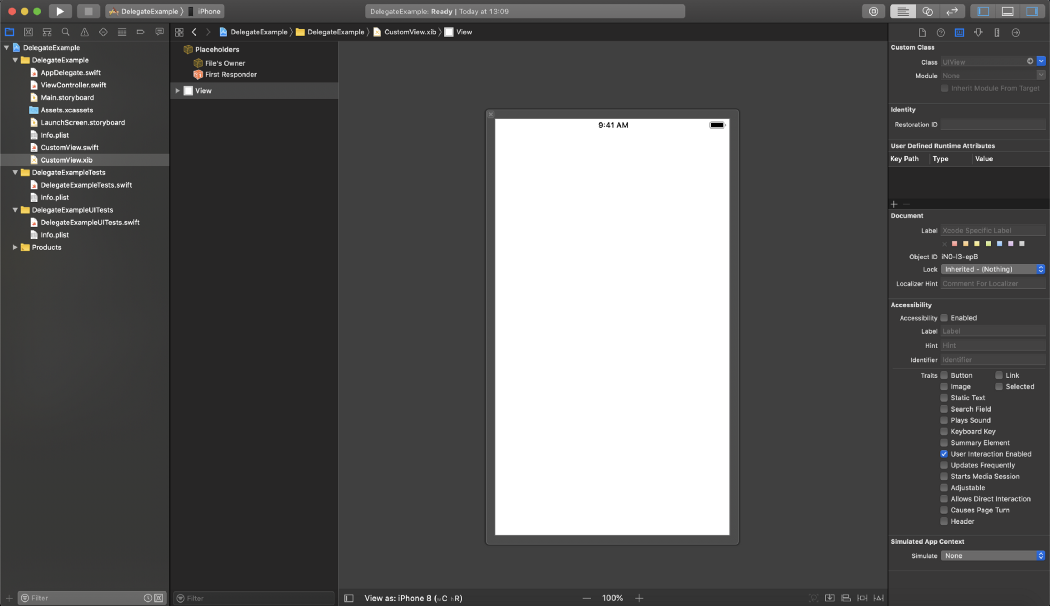
Now you should see a CustomView.xib file in your project tree and you should have a screen that looks something like this.
Okay, into the code we go. Open your CustomView.swift file and create a class for our custom view. To do that, just type this code into the file.
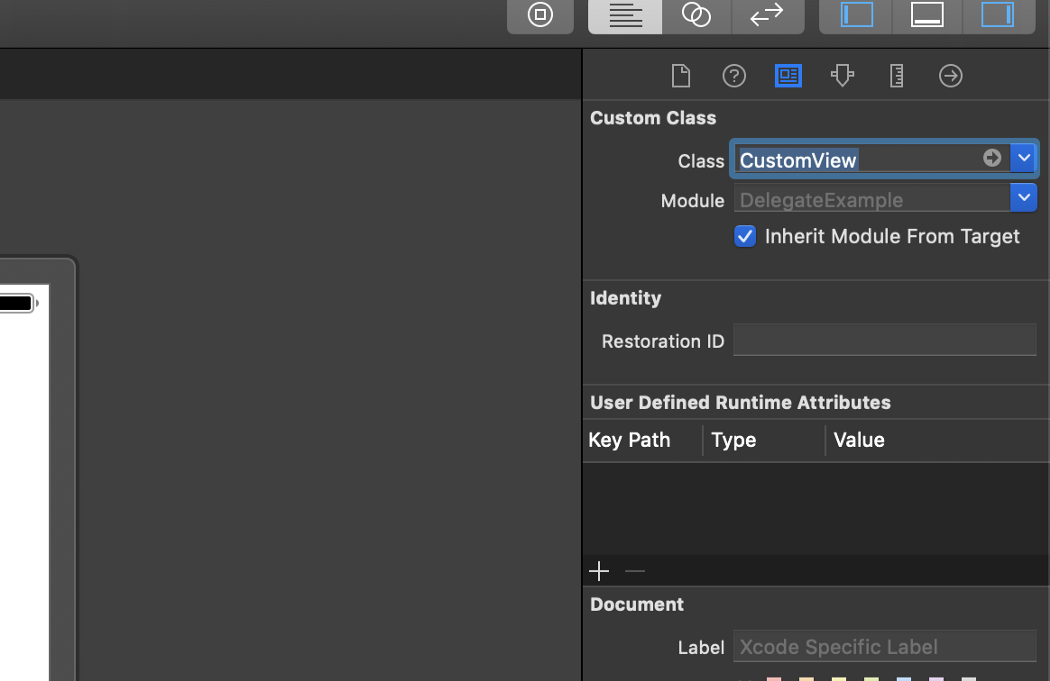
import Foundation import UIKitclass CustomView: UIView { }Now we need to add a class to our view in .xib file. Navigate to CustomView.xib and at the top of the Inspectors tab, select Identity inspector In the Class field enter CustomView and press Enter.
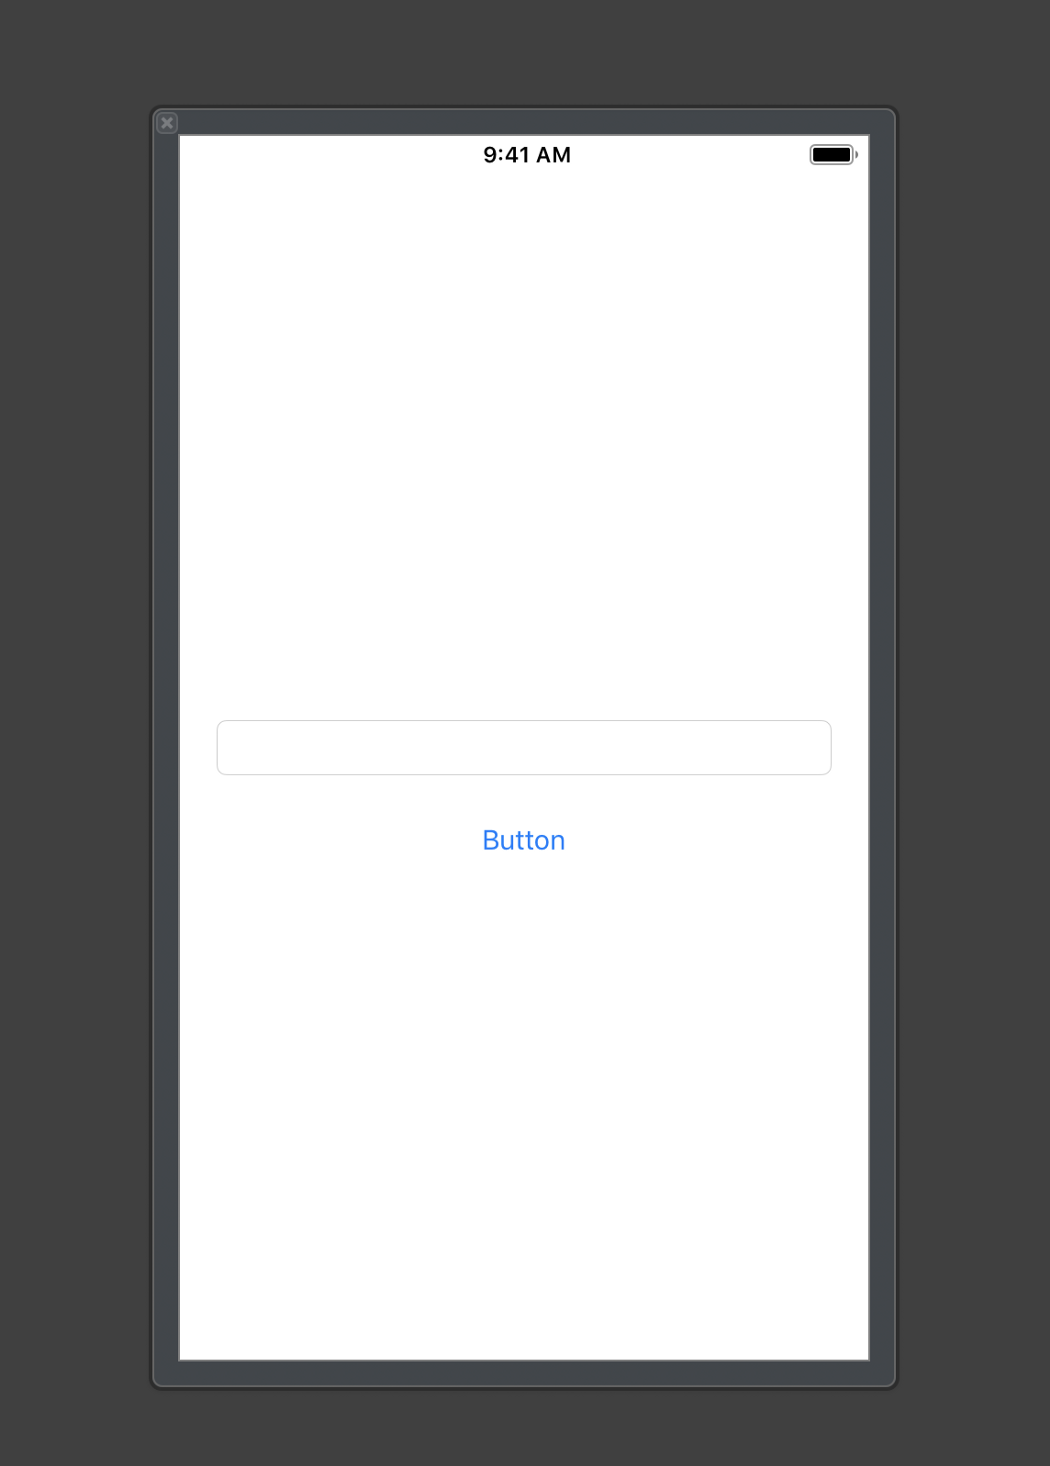
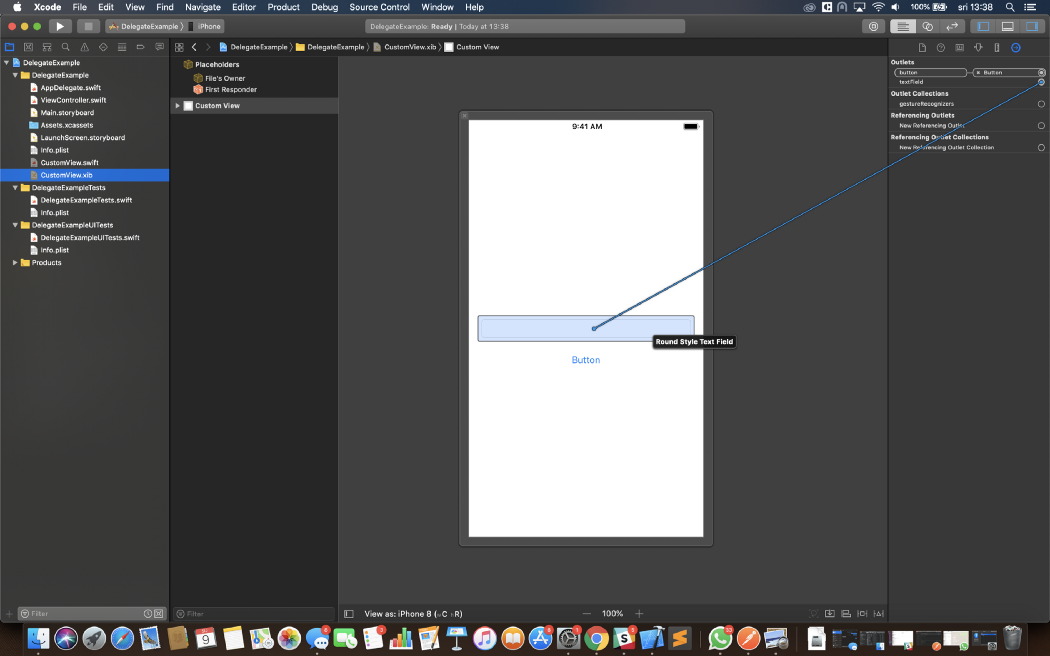
Now add a Button and Text Filed somewhere on the screen. I will add them to the center of the screen like this.
Now back to the code, we need to create outlets for our text field and button. To do that add this code to your CustomView class.
@IBOutlet weak var textField:UITextField!

@IBOutlet weak var button:UIButton!
Now connect the outlets with text field and button inside of the view in the .xib file. To do that, navigate to Inspectors again and select the Connections inspector. You will see two outlets that we just created.
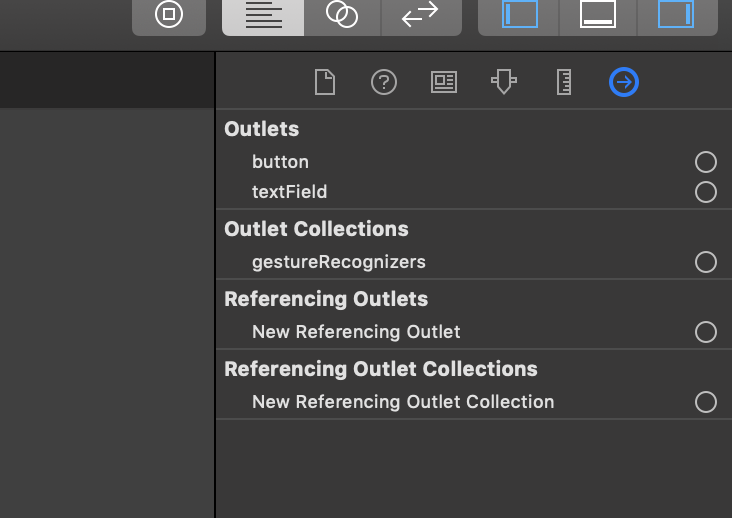
To connect them the text filed and the button simply press on the circle next to the name of the outlet and drag and drop them to the text filed and button inside the view.
Now let’s go and add a label inside of our View Controller the same way. Go to ViewController.swift file and add this code inside the ViewController class.
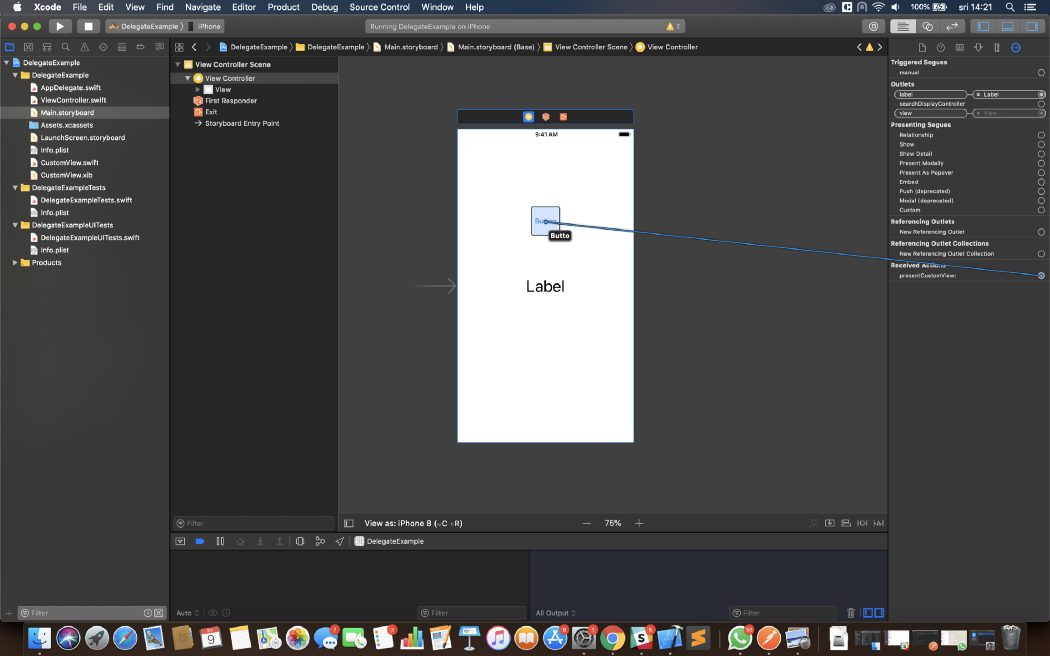
@IBOutlet weak var label:UILabel!Go to Main.storyboard and add a label and a button to the ViewController and connect the label outlet using inspectors.

Great, now we have set up our object A and object B. Our object A will be ViewController and our object B will be CustomView. Now the idea is to type something into the text filed on the CustomView and change the text of the Label on the ViewController. To do that we will need a protocol. So let’s create one. Go back to CustomView class and add this code above CustomView class.
protocol TextTransferDelegate: class { }Now let’s declare a function inside of the protocol we just added.
protocol TextTransferDelegate: class { func transferText(text:String) }Okay, so we know that we will need to transfer some data from one object to another. To do that we will use this function we just added. We know that the type of data we are transferring is a simple String from the text field. That is why there is a parameter in a function named “text”. We will pass the data using that parameter later. Notice there is no method body inside of the protocol. That is because protocols are used just to declare functions or variables, not to implement them.
Now let’s create a delegate property inside of CustomView class, simply add this code
weak var delegate:TextTransferDelegate? = nilGreat, now we have a property named delegate. The reason why delegates are declared as weak variables is simply to avoid the risk of a strong reference cycle (aka “retain cycle”). I personally prefer to make them optional and I will explain why later on.
For now, let’s get back to our ViewController class and make an action for the button we added earlier so we can present our custom view.
First, create a property for our custom view by adding this code to our ViewController class.
var customView:CustomView = CustomView()After that, we need to register the nib for our customView and we can do that by adding this line of code into our viewDidLoad() function in the ViewController class.
customView = (Bundle.main.loadNibNamed("CustomView", owner: self, options: nil)?.first as? CustomView)!Now we can create an action for our button, and we can do that by simply adding this part of code
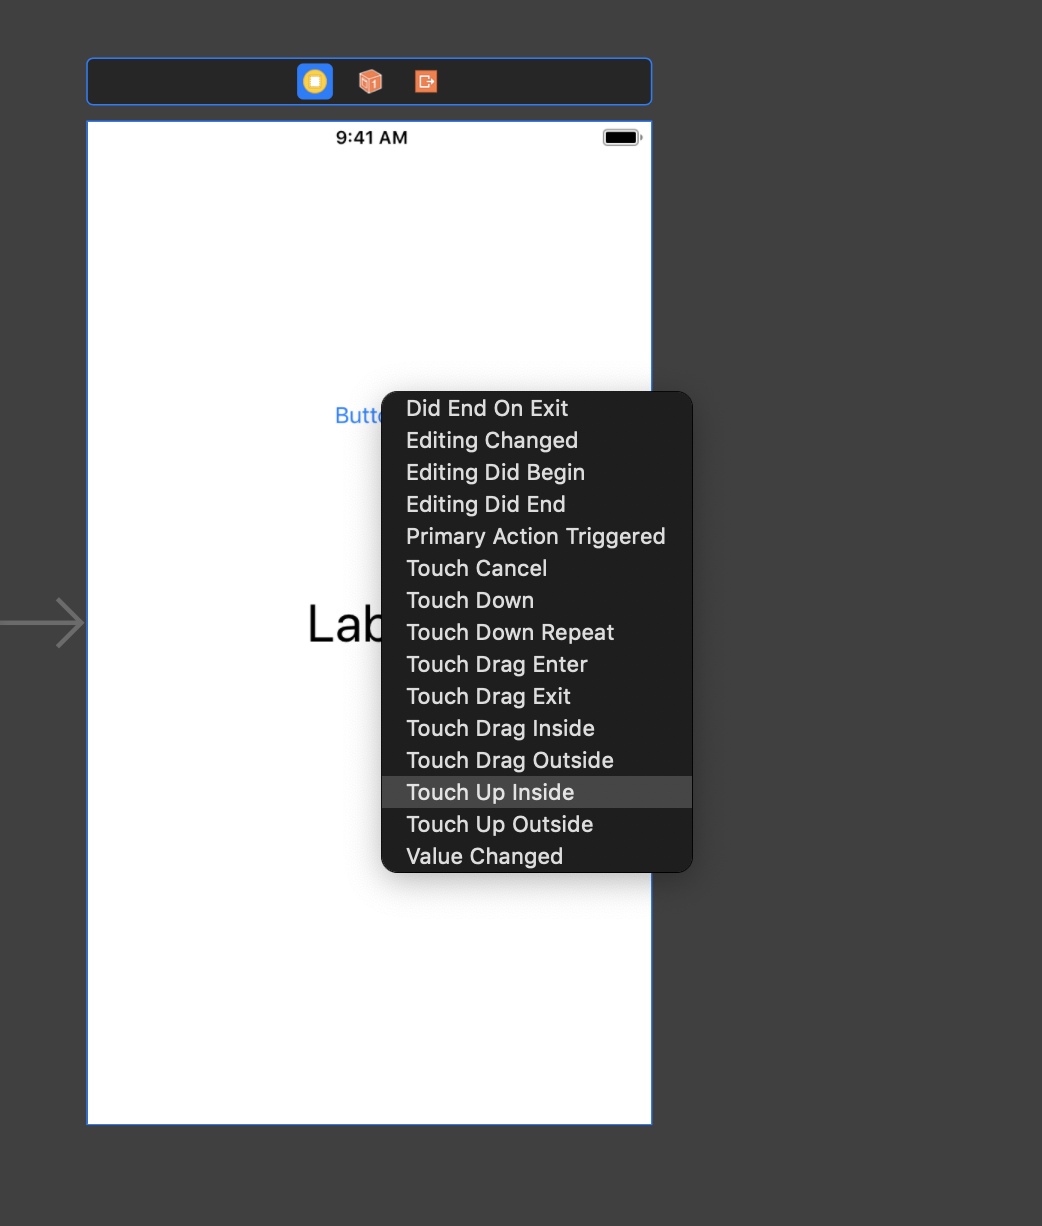
@IBAction func presentCustomView(_ sender:UIButton) { }As this is an action event, so don’t forget to connect this action to the button on the ViewController inside of the Main.storyboard file. We can do that the same way we connected the outlets, using the inspectors.
Drag and drop the action and you should get a drop-down menu. Select Touch Up Inside.
Now the action is connected to the button. Let’s declare what the action will do after it’s triggered. To do so, go back to ViewController class and add this part of the code inside the action we just created.
@IBAction func presentCustomView(_ sender:UIButton) { customView.center = self.view.center self.view.addSubview(customView) }Try to build and run the app. Press the button on the ViewController and you should get a new view with the text field presented. This is our CustomView. You can type some text in the text field, but how will that text be transferred to the label on the ViewController? Well, our protocol will do that for us, and here is how. First, we will implement the delegate and tell him what to do.
Create an extension of the ViewController and inherit from the TextTransferDelegate like this
extension ViewController: TextTransferDelegate { }If you try to build the project you will get an error saying “ Type ‘ViewController’ does not conform to protocol ‘TextTransferDelegate’ ”
Remember the function “func transferText(text:String)” we created earlier? We need to implement the function so that ViewController can conform to the protocol. To do that add this part of code.
extension ViewController: TextTransferDelegate { func transferText(text: String) { } }Now our controller conforms to the protocol, but the function is doing nothing as you can see. For now, let’s leave it like that and go back to the CustomView class and create an action for our button. Again simply add this part of the code and connect the action using the inspector.
@IBAction func changeTextPressed(_ sender:UIButton) { }When we press the button we want to change the text of the label on the ViewController, and our protocol should do that for us, so let tell him to do so. Add this code to the action we just created.
@IBAction func changeTextPressed(_ sender:UIButton) { guard let delegate = delegate else { return } delegate.transferText(text: textField.text!) }If you try to build and run, enter some text in the text filed and press the button, nothing will happen. Remember that I said to explain why I prefer to make delegates optional? This line of code:
guard let delegate = delegate else { return }will prevent the app from crashing, because we didn’t set the custom views delegate and we are trying to call a function from a delegate that is currently nil.
delegate.transferText(text: textField.text!)To fix this we need to go back to ViewController and find presentCustomView func. Add this part to the code:
customView.delegate = selfand your final presentCustomView function should look like this
@IBAction func presentCustomView(_ sender:UIButton) { customView.center = self.view.center customView.delegate = self self.view.addSubview(customView) }With this line of code, we are setting the delegate to ViewController, and we have already implemented the protocol in the extension below the ViewController class. This means that our CustomViews delegate is ViewController, so when the
delegate.transferText(text: textField.text!)is being called, what’s actually being called is (just to visualize)
ViewController.transferText(text: textField.text!)which means that the function implemented in the extension of the ViewController is being called and the parameter “text” is transferred to ViewController, and we know that the value of the “text” parameter is textField.text.
Now when you can see how this works, let’s go back to the protocols function implemented in the extension and add some code to it to make it look like this:
extension ViewController: TextTransferDelegate { func transferText(text: String) { if text != "" { self.label.text = text self.customView.removeFromSuperview() } } }There are three things happening here. The first one is checking if the parameter “text” is an empty string, if “text” is empty nothing will happen, so make sure you enter some text into the textField before pressing the button on the CustomView. The second one is the real work of the protocol, and that is setting the label’s text to the parameter “text” (textField.text), and the third one is removing the CustomView form ViewController. This line of code is where all the magic happens.
self.label.text = textBuild and run the project and try it out yourself. Everything should work like a charm.
Here is the complete project on GitHub. I hope this helps, cheers!
Give Kudos by sharing the post!
ABOUT AUTHOR

Filip Varda
iOS Mobile Developer